UPDATE: I’ve added my second prototype video shortly after I made this post.
This is the second part of my developer diary series, which I plan to update on a weekly basis. You can find part 1 here, where I go over creating the environment art. I’ve also posted a brief video displaying the collision of the level last week. I’ve since added quite a bit, which I’ll go over in detail in the next entry.
Creating a water material
Creating a material which resembles water can be a difficult thing, as there are so many properties to consider. How should the light reflect off of the surface, and how often should it do so? Does it resemble the shade of light source, and if so, to what degree? How transparent is the fluid? Does it have particles floating throughout?
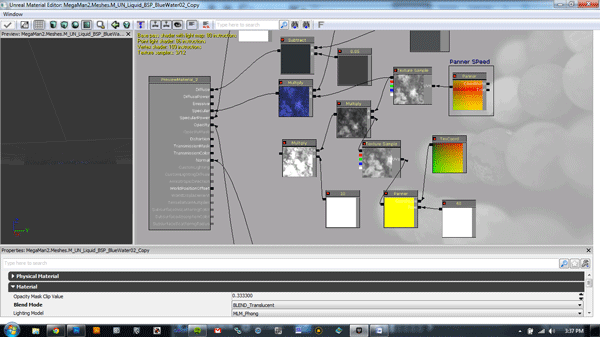
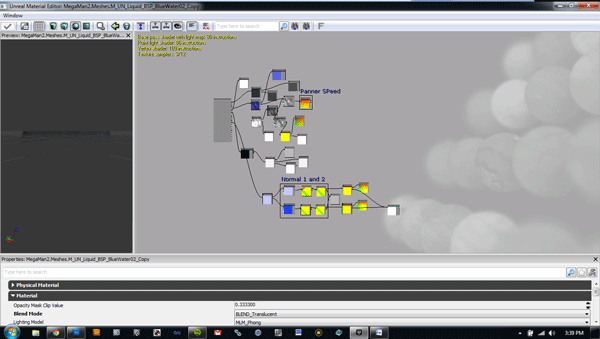
Fortunately, UDK comes with quite a few materials and resources, so there isn’t always a need to reinvent the wheel. I started off by using the material M_UN_Liquid_BSP_BlueWater02_Copy which offers properties similar to what I was looking for. I wasn’t satisfied with the specular mapping though, which created a brown/tan hue – no very fitting for Bubble Man’s stage. I tried out a few colors before settling on a white/blue color, which lends itself well towards the ambiance of the level. I’m still working towards applying the right amount of reflection, but as I get there I will be sure to post more.
Doing so wasn’t too difficult, as UDK’s material editor is node based, similar to 3DS Max’s slate editor, (new to 2011+), and Maya’s Hypershade. A recent addition allows all materials to be exported through the .FBX content pipeline straight from either 3D package, and directly into UDK, while keeping all of the nodes in place. The biggest advantage to creating materials in UDK however, is the fact that they can all be rendered in real time, not only in the editor’s main viewport, but also the material editor’s viewport as well. In either modeling package you would need to rebuild the scene each time, which quickly becomes time consuming. It requires quite a bit of processing power, but in terms of time saved, it’s well worth it.
I originally had the water in the background, beyond the pawn and the static meshes, but this made it seem as though you were looking through a Stargate or something, so it wasn’t really the look I was going for. I’ve since moved it toward the foreground, but I still find it distracting. Tweaks will be needed.
The waterfall
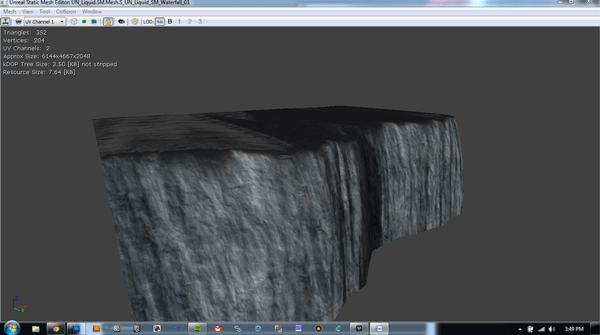
If you look at Bubble Man’s stage on the NES version, you’ll find that there is a large waterfall in the background until Rock gets beneath the water. To replicate this, I initially had a blue aquatic image applied to the background, along with a transparent water material, but wasn’t crazy about the results. I’ve since settled on using a static mesh with a waterfall material on it, which despite not being transparent, I think works well. It’s massive alongside my level but the mesh itself measures 6144x467x2048, so it works perfect in terms of what I need it to do. The fact that it is dynamic and constantly moving adds a sense of realism to the level too.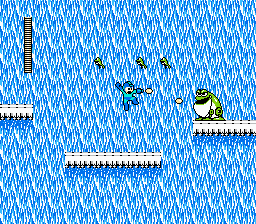
The waterfall only runs down to the point where the static meshes turn green and then Rock enters the water environment. At the point where they meet, I’ve included particle emitters to imitate the sense that water is splashing up once it meets a flat surface.
Sound Nodes
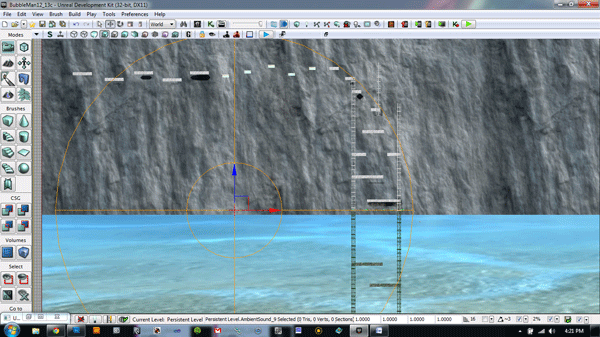
The sound node, as seen with circles which illustrate how far it exceeds past the point of insertion
Now that we’ve got the waterfall in the background, we need some sort of aural cues to engulf the player within the level. I’ve placed it towards the center of the level (as illustrated by the orange circles), where the central circle maintains the full volume, while the extended circle represents the furthest reaching points of the node. You can see that it continues into the part of the level beneath the surface, but by creating an environment volume around that area (in an upcoming entry), I can nullify the sounds.
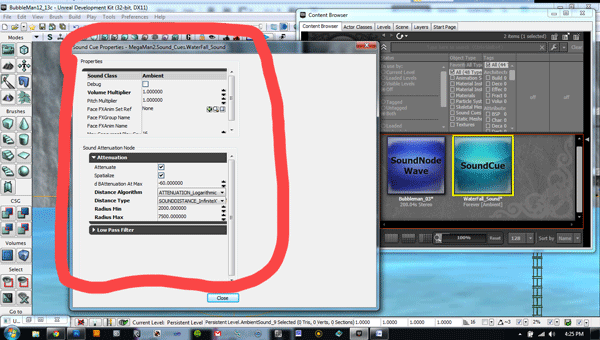
As you can see in the screenshot below, I can easily adjust the size of either circle, in addition to the falloff between the two.
Coming up next time:
Adjusting he collision of the pawn
Configuring SVN
One thought on “Mega Man Dev Diary: Vol 2”